Sketching
lines, sketch, drawing, line and proportions
Method. Begin sketching by drawing paral lel lines horizontally; then make them vertical; then slanting lines—endeavoring all the time to make them all of the same width and intensity. After exercises in the drawing of straight lines, try circles and ellipses. Then sketch familiar household articles. From these, let the student take up more difficult work, learning to see objects as they actually appear to the eye, and not as they are really known to exist.
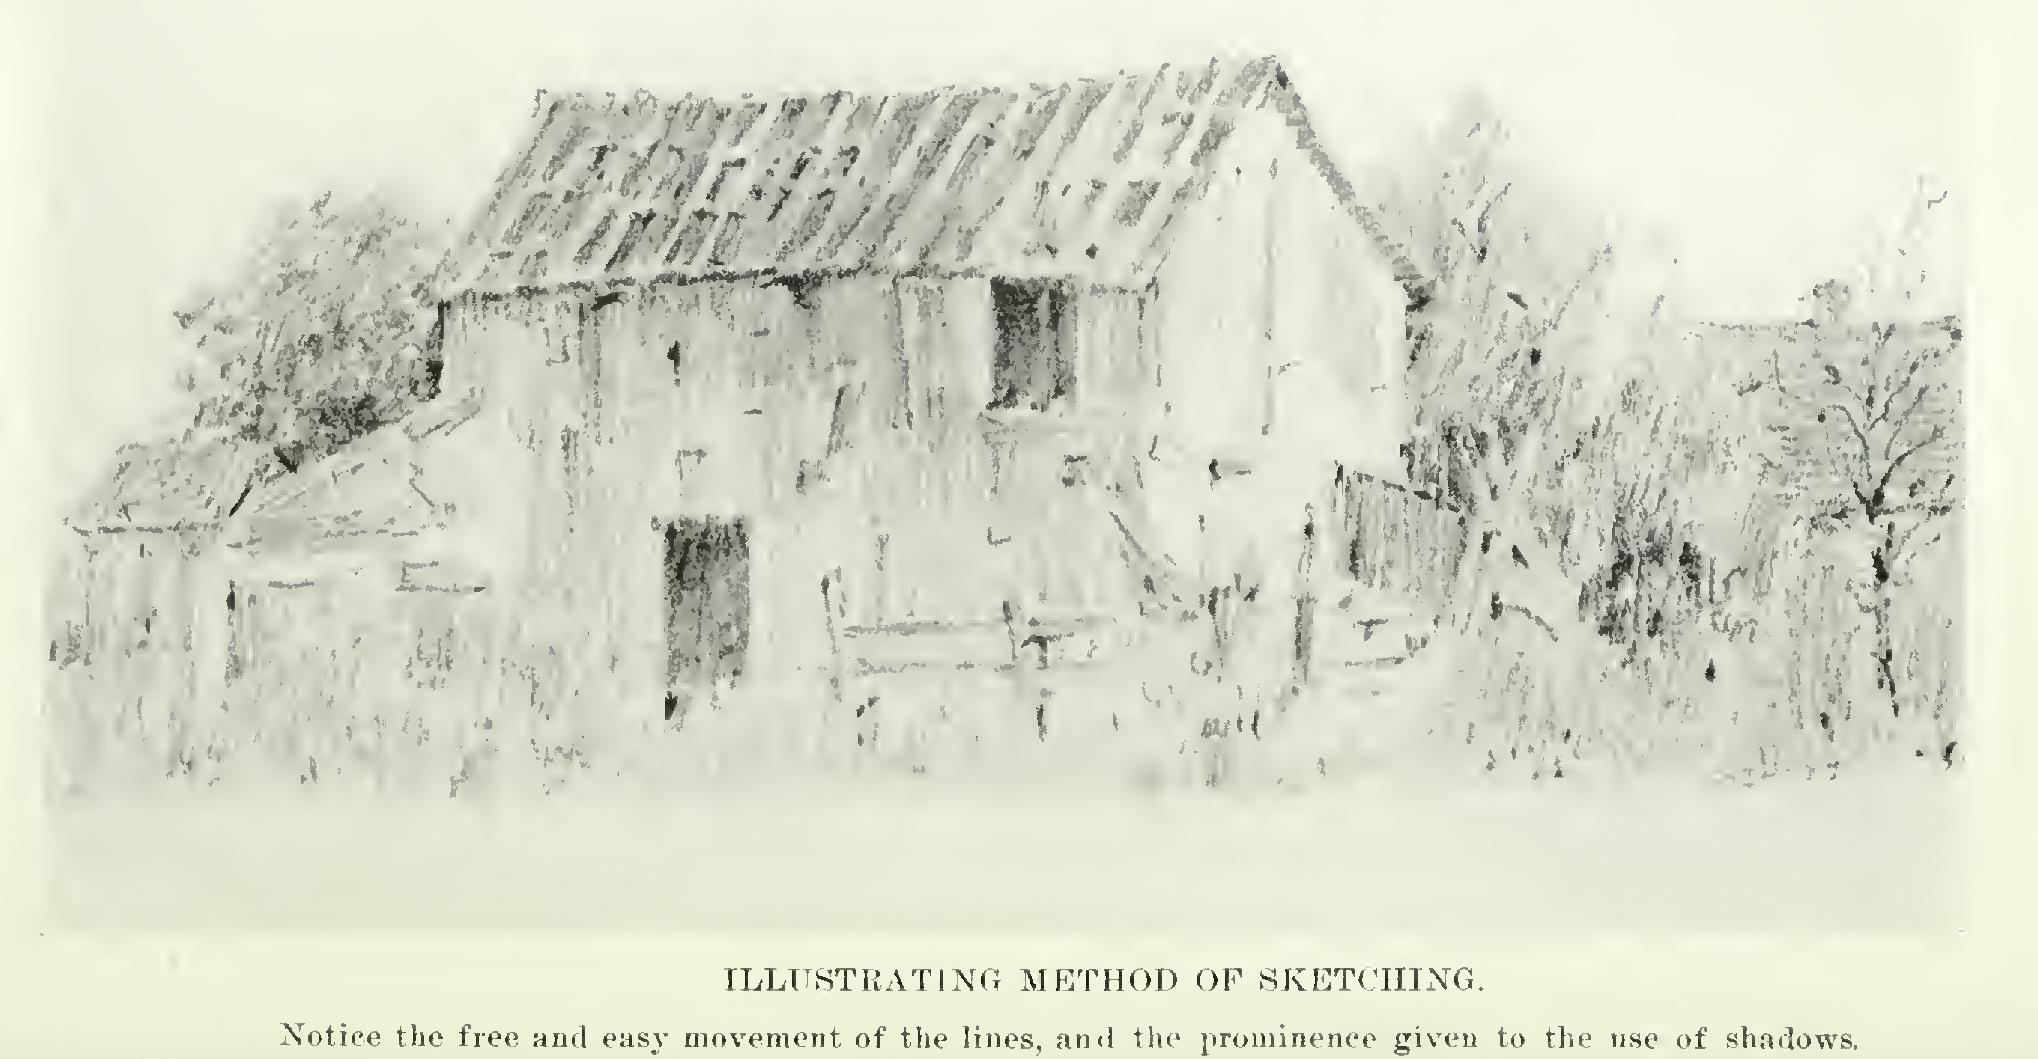
Referring to Plates E and F, notice the method used for indicating surfaces. Instead of covering the side of the building with long, mechanical, parallel lines, the lines are made short, and broad, and break joint so as to give an uneven surface. The eaves are all repre sented by the shadow they produce, there being no definite line for the edge of the roof. For the corners of the building, there is not a hard, sharp line, but a broken, irregular line. The doors and windows are all represented by the shadows they cast.
It will be noticed that the shadow is the thing to reproduce. If the shadows are shown in their true relative proportions, in intensity and size, we are reasonably sure of a satisfac tory sketch. For such work, the object is usually outlined with a light line, to get the proper lines and proportions; in other words, just enough lines are given to show the proper relation of dimensions.

Having outlined the object, then commence with the soft, broad pencil, and indicate the texture and shadows by varying intensities of lines.
Practice will give you the best training for developing the art of sketching. It is not
enough to study work already done, analyzing lines and surfaces. Actual work and practice in drawing and sketching will do more for you than any mere study of sketches.
Learn to make preliminary sketches quickly, and yet indicate general proportions and out lines (see Fig. 78). This sketch was made in about five minutes' time, while the architect was talking to his client. Some of the finer points of the original pencil sketch are neces sarily lost in the pen-and-ink reproduction from which the cut was engraved. The figure repre sents a possible treatment for a boiler house. This is a good example of a preliminary sketch, there being no particular time spent in the drawing and very few straight lines used, yet, when the sketch is studied, we can see the gen eral effect that such a building would produce in sunlight.
Make your sketches have some "snap" to them. Let each line be firm, starting and stop ping in a way that shows it to be there for a definite purpose. Use plenty of free and easy lines, and also black lines. Do away with sharp lines, and never use hard pencils for this work.
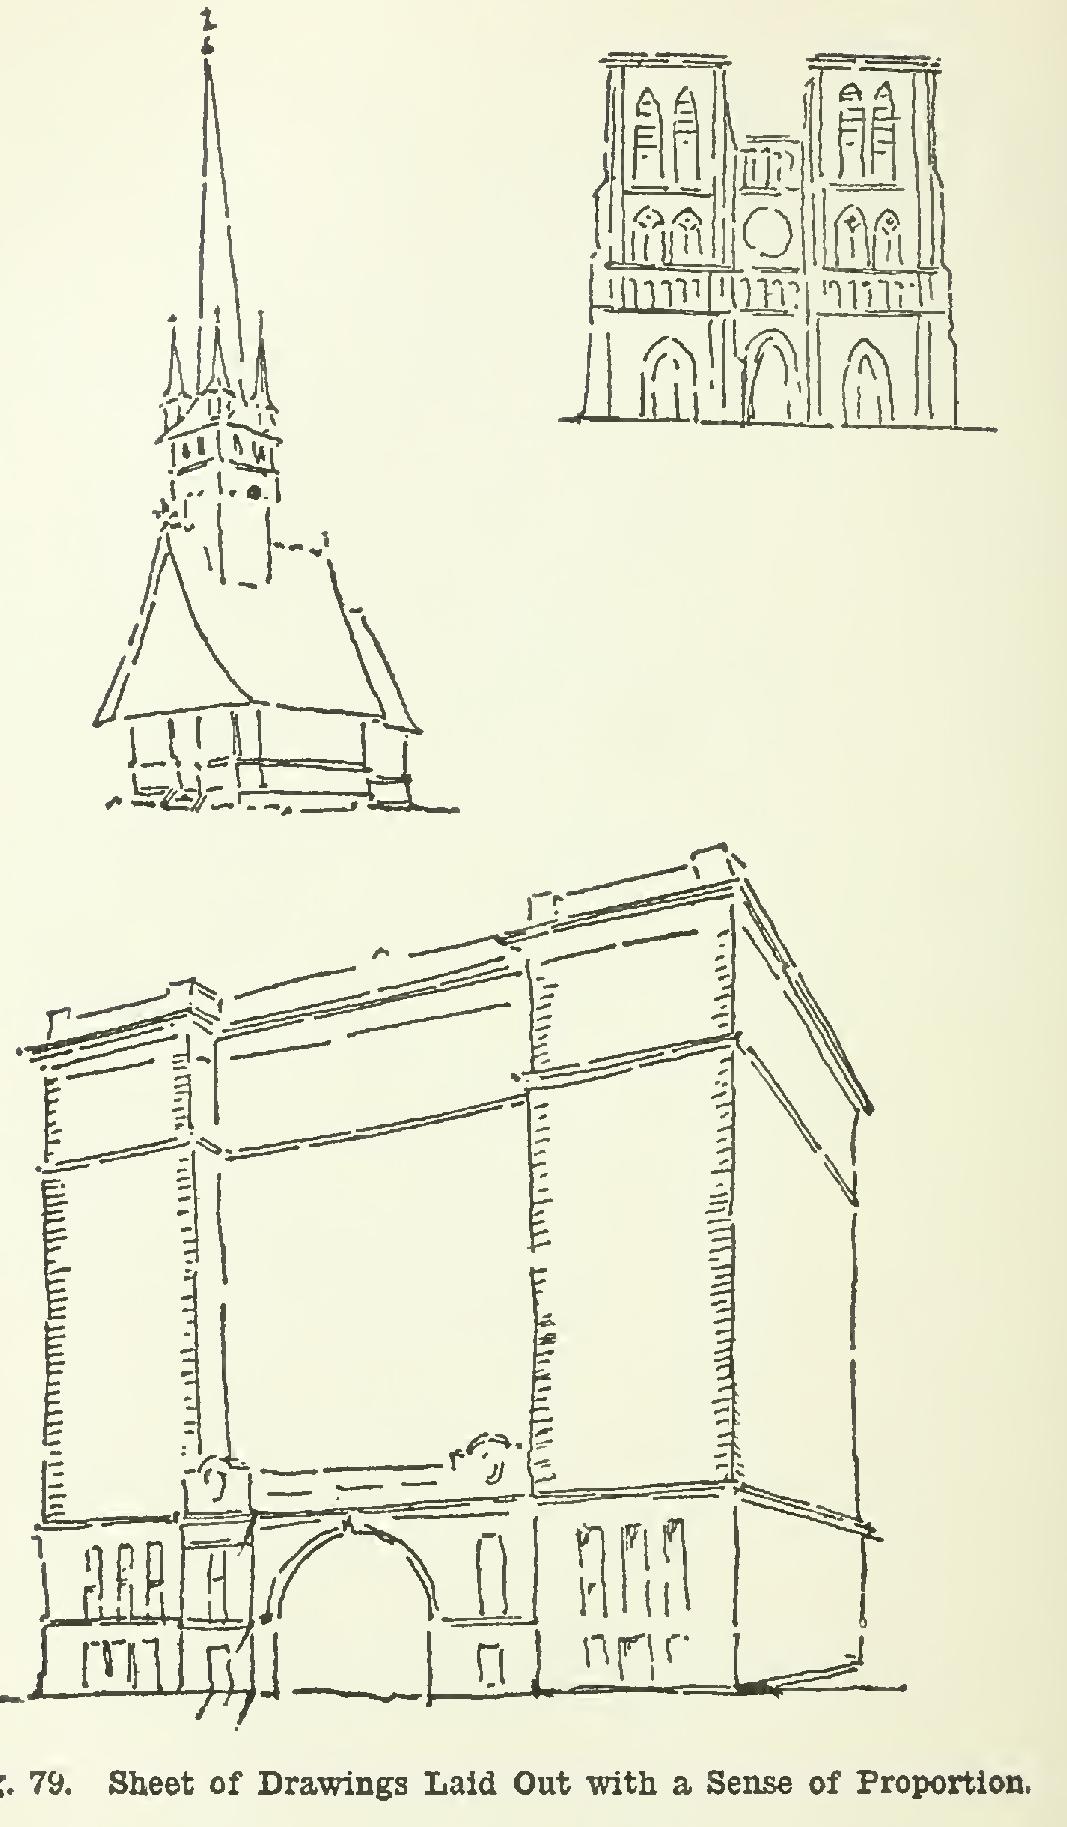
For the purpose of laying out drawing, either for pencil, pen and ink, or pen-and-ink render ing, a sketch will be shown to illustrate clearly the quickest and most satisfactory method. See Fig. 79, where the sketches are all rather rough or uneven, but the general drawing shows the effect of proportions. The lines, instead of being long and continuous, are made up of short lines almost joining.