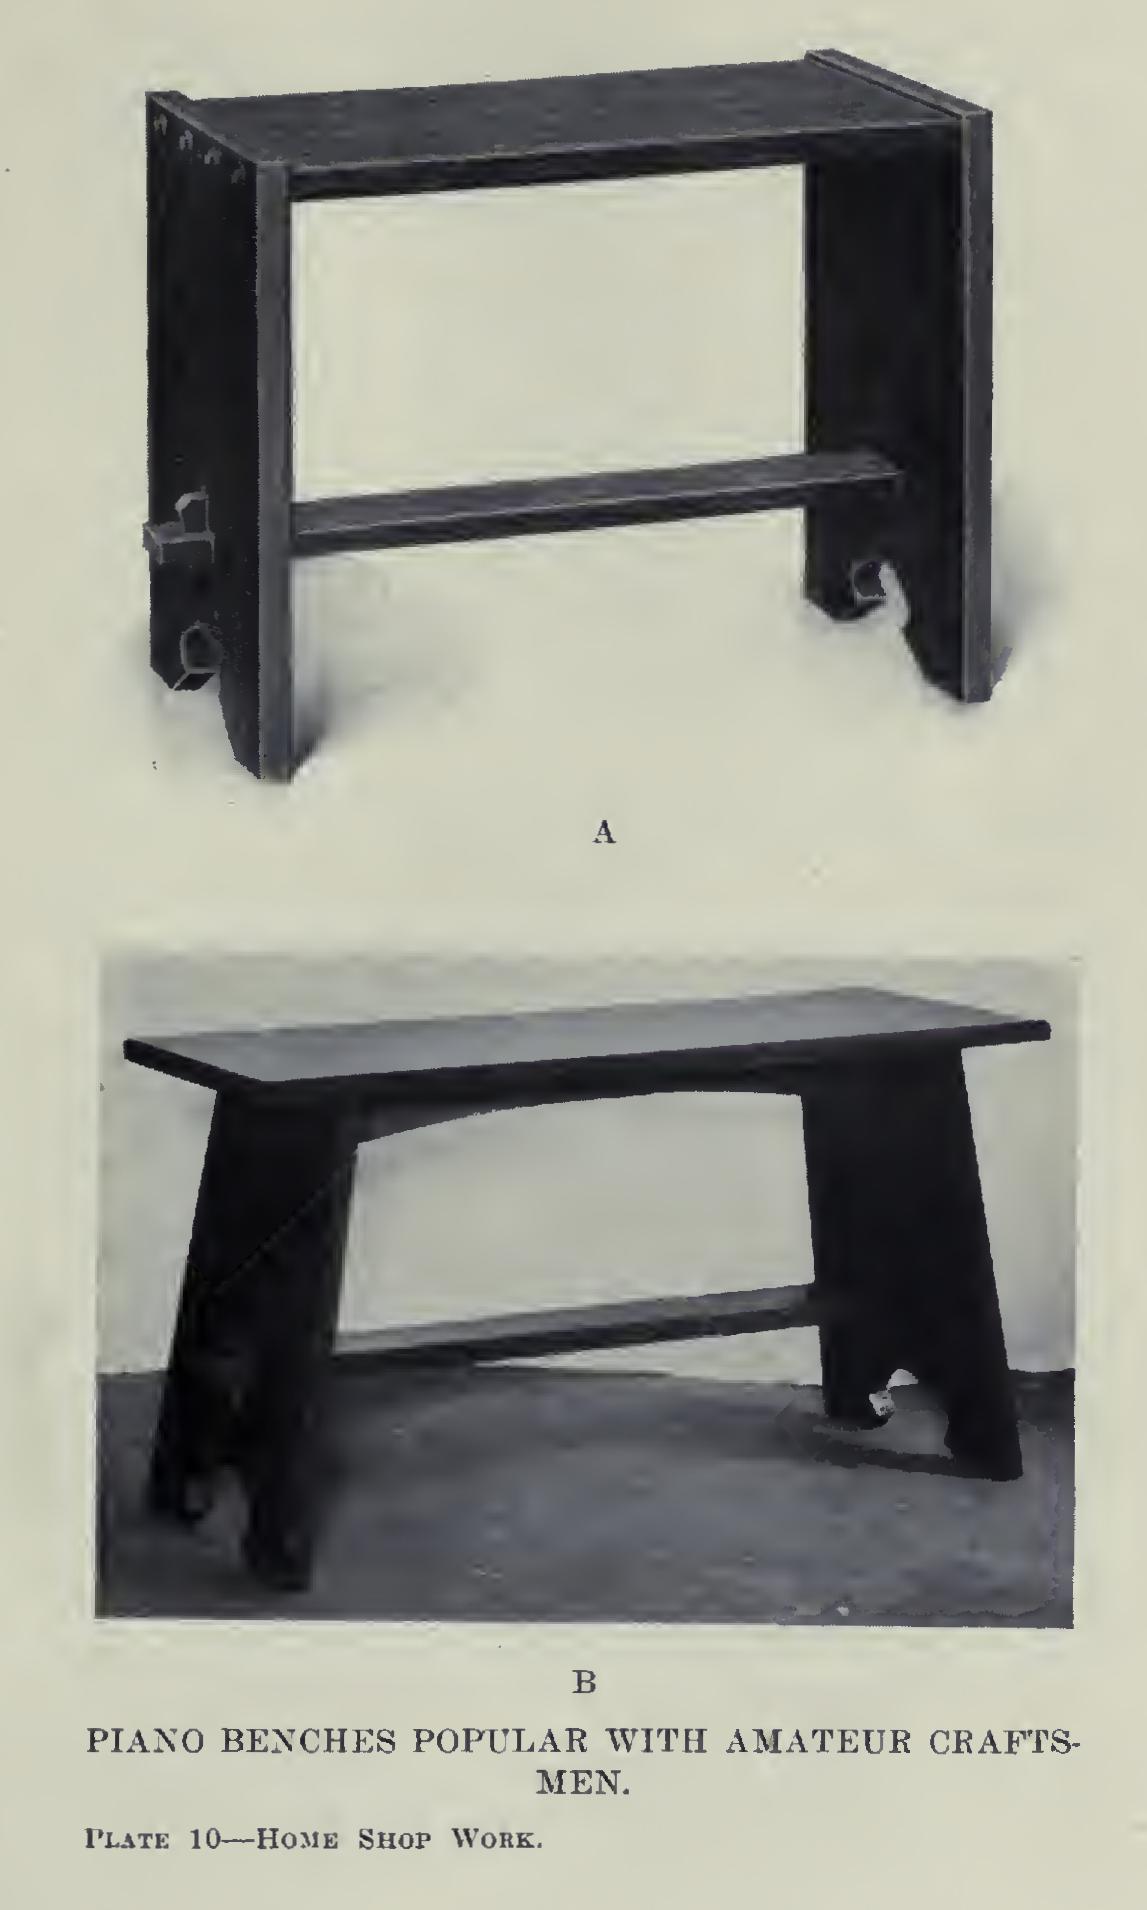
A Piano Bench
inch, inches, measure, top, gauge, lines and square
The cross-tie has a through tenon at each end. From one end, measure three inches, and mark; from this mark, measure twenty-six inches. There should remain three inches from this last mark to the end of the piece.
Square sharp knife lines around the piece at these marks, keeping the beam of the try square against the working face and joint-edge in so doing.
Set the gauge to one inch, and gauge from the joint-edge upon the two faces, as far back from the ends as the knife lines, Fig. 45. Again, set the gauge to three inches, and, keep ing the gauge-block against the same edge, gauge as before.
Rip carefully along these gauge-lines, and crosscut along the knife lines to meet them. Chamfer the ends of the tenons about one eighth of an inch, using the plane.
To lay out the mortises which are to receive the keys, measure out from each of the shoul ders one and one-sixteenth inches on the upper and under surfaces, and mark; then, from these marks, measure seven-eighths of an inch on the upper surface, but three-quarters of an inch on the under surface. Square sharp pencil lines across at these points.
Set the gauge to five-eighths of an inch, and gauge between these pencil lines on the two surfaces and at each end. Next set the gauge to one and three-eighths inches, and gauge as before, gauging from the same edge (the joint edge).
Another way—and probably a better way, should the tenon not be accurately cut—would be to lay out these mortises before the shoulders of the tenon are cut off.
Chisel carefully to these lines, working from each surface alternately. Only one surface of the mortise slopes with reference to the surface of the piece.
The keys may be laid out next. Square one end of the piece of stock which was prepared for them, so that it shall be at right angles to the joint-edge and working face.

Measure from this end two and one-half inches; saw the piece off, and plane the end square. Measure again from the end of the piece thirteen-sixteenths of an inch, and square a sharp pencil line across. From the line last drawn, measure seven-eighths of an inch, and square another line across.
On one of the cross-lines just drawn, measure out from the joint-edge seven-eighths of an inch, and place a point; on the other, measure three-fourths of an inch. Draw a
straight line through these points the length of the key.
Saw close to the line, and plane smooth. The corner at the top of the key is cut at an angle of forty-five degrees.
In putting the parts together, fasten one of the legs to the top, using lag screws or carriage screws, and washers. Prepare the pieces by boring holes one-quarter of an inch in diameter through the legs.
Locate them, as shown in Fig. 42, on a line parallel to the top of the leg and fifteen-six teenths of an inch from it. Measure one inch from the edges for the holes nearest the edge, and place the others so as to make the interven ing spaces equal.
Bore the holes in the ends of the top to cor respond, using a three-sixteenths-inch bit. Bore two inches deep.
The lag screws for these holes should be one-quarter of an inch in diameter and three inches long.
Place the tenon of the cross-tie in the leg, and put in the key. Now put the second leg on in the same way as the first.
Fig. 46 shows a second way of fastening the top to the legs. A closed gain three-eighths of an inch deep and one and one-eighth inches wide, is chiseled in the leg. The opening lacks one' inch of extending out to the edges.
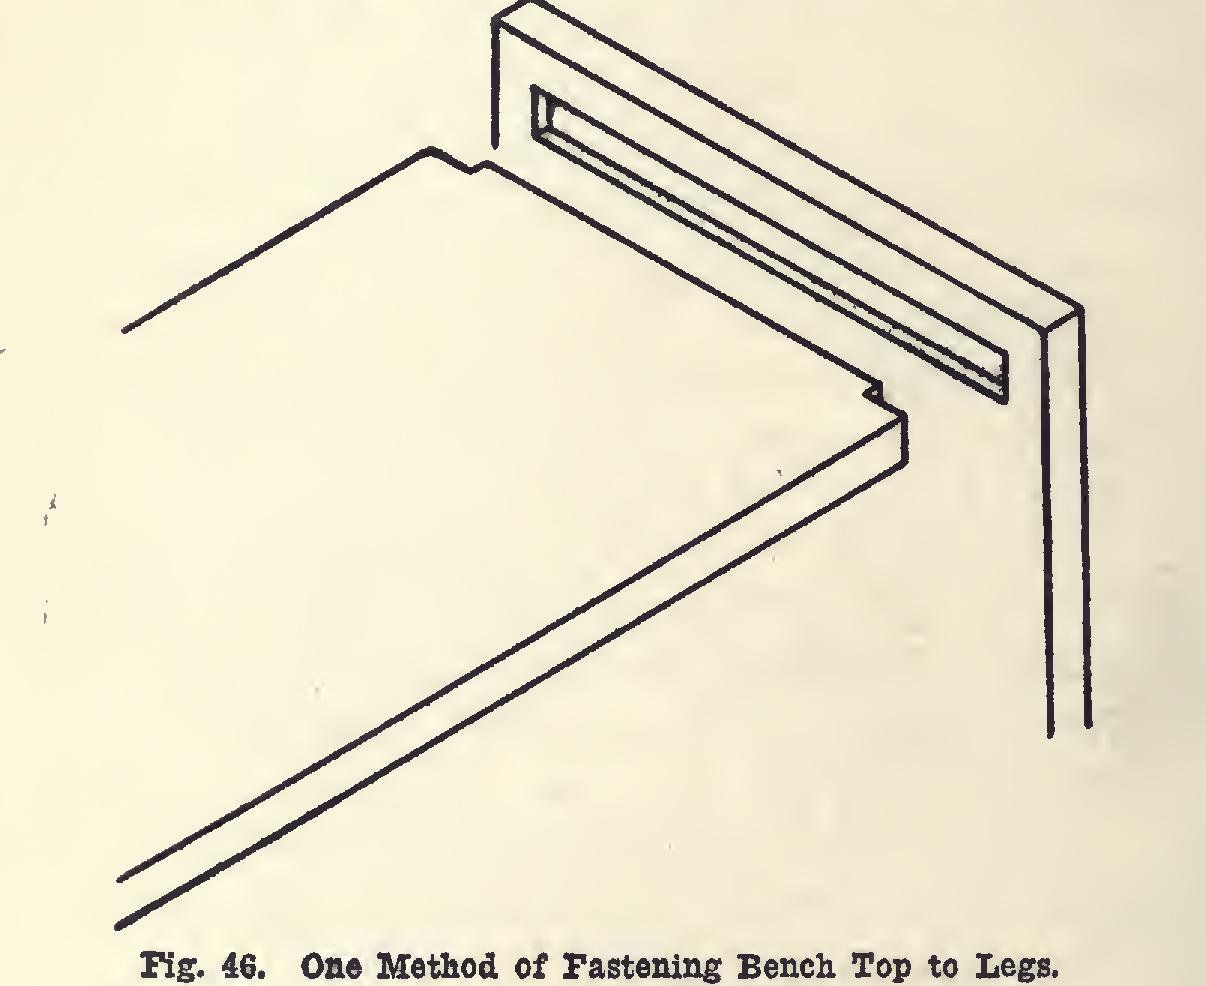
It will be necessary, if this construction is used, to keep the top lower on the legs—about one inch from the top; otherwise, there, would be danger of the gains splitting out.
Cut the top according to the dimensions given for the gain. It should be twenty-six and three-fourths inches long, instead of the original twenty-six inches.
In fitting the parts together, plane off the under side of the top should it require planing.
A finish should be selected that will harmo nize with the piano. It need not be the same necessarily.
Another very satisfactory piano bench is illustrated in Plate 10 (B). In it the legs are set at a slight angle, and the top extends out over them. The construction of this bench is simple, and can easily be worked out along the lines of the other.